DIY Candle Making
I'll be honest, I'm a little bit obsessed with candles. There's never a time when we don't have candles throughout our apartment, even if we don't light them on a regular basis. We even have a candle that melted in a cool way and is strictly a decorative piece and not for lighting. So when I found out that one of my friends had made DIY scented candles, I knew it was something I had to try too.
I looked online for scented candle kits, but couldn't find any I liked. Either the containers weren't cute enough or I didn't like the scents offered. I all but gave up until I found The Wooden Wick Co. The cute little candle holders below were only $6/each and totally fit in with our apartment decor. On top of that, 1lb of wax was only $10 and they have so many different scented oils you can choose from. I'll be honest, it took me a while to choose one because there were so many amazing sounding scents. The only downside to ordering through The Wooden Wick Co was that I had to buy a pack (16 I think) of wooden wicks & wick clips rather than just buying 2 wicks. The good news though? Now I can make a ton more scented candles and all I have to buy is the wax & scent. I think in the long run it will be less expensive than consistently buying pre-made scented candles. Plus, it gave me a fun activity to do and I was so excited to see how they turned out.


I was originally planning on consulting Google once I received my supplies since I had only purchased a few select items online and hadn't actually bought a candle-making kit. To my surprise, I received step-by-step instructions on exactly how to make the perfect scented candles. This made the process so easy!
I'm notoriously bad at following directions, so I didn't buy all of the materials that were "necessary" for making these candles. I'll list for you what they recommend and also tell you what I did/did not use.
Materials:
- Wax
- Fragrance Oils
- Wooden Wicks
- Wick clips + stickers*
- Vessels
- Safety labels*
- Pouring pitcher
- Stove-safe pot
- Whisk*
- Thermometer
- Wick trimmer*
*these are the materials I didn't use. I used the wick clip to hold the wick and just let the weight of it keep the wick in place. Rather than using a whisk and getting it all waxy, I just used the thermometer to stir the hot wax. I used regular kitchen scissors to cut the wick instead of a wick trimmer.
Basic Instructions:
- Fill your pot with about 3" of water and preheat until the water is simmering.
- Cut your wax into 1/2" chunks and place it in your pouring pitcher.
- Put your wick in the wick clip and place in your vessel.
- Put your pouring pitcher in the hot water and leave until the wax is completely liquefied and has reached between 180° F and 190° F.
- Remove the pouring pitcher from the pot and briskly whisk in the fragrance oil. Whisk for 2-3 minutes to integrate the scent.
- Slowly pour the wax into your vessel, leaving about 0.5" to the top of the vessel.
- Let the candle sit on a flat surface to cool for 24 hours before trimming the wick & lighting.
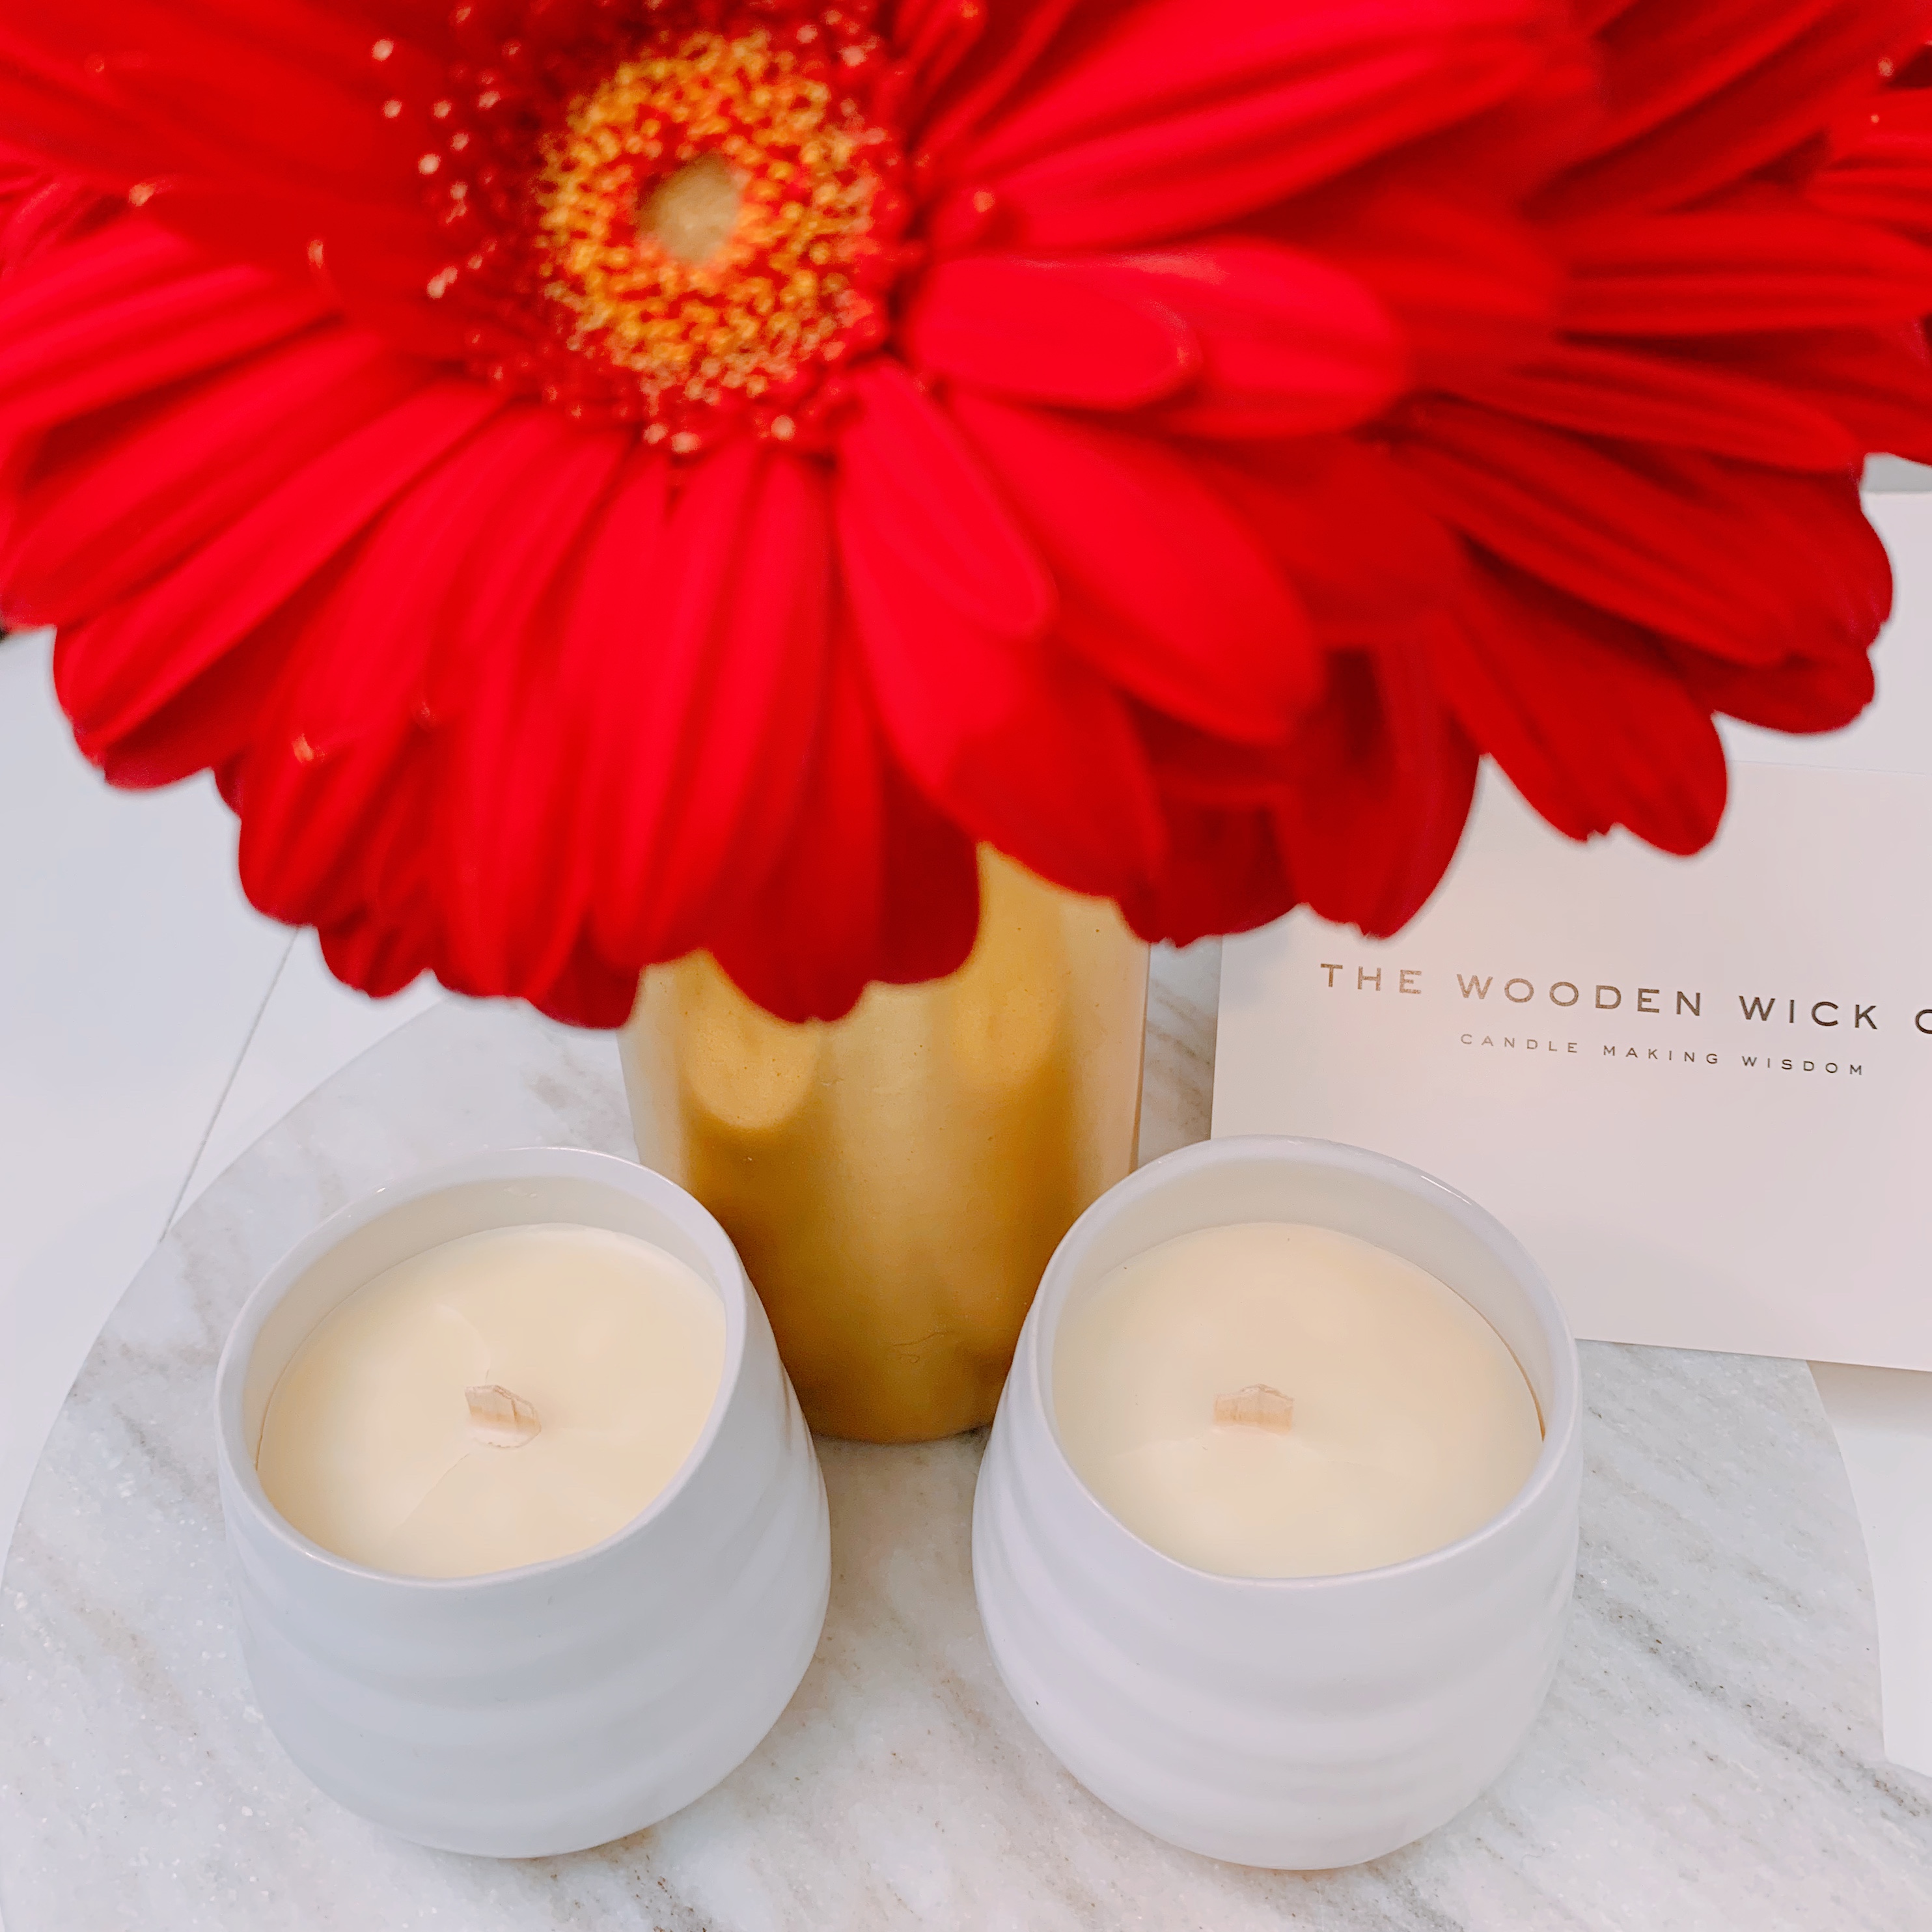
Look at how pretty those candles look! No, it wasn't the easiest process but it also wasn't impossible to do at home either. Once I've burned these candles through, I'm definitely going to have to buy some more wax & scented oil and make these candles again!


Comments
Post a Comment